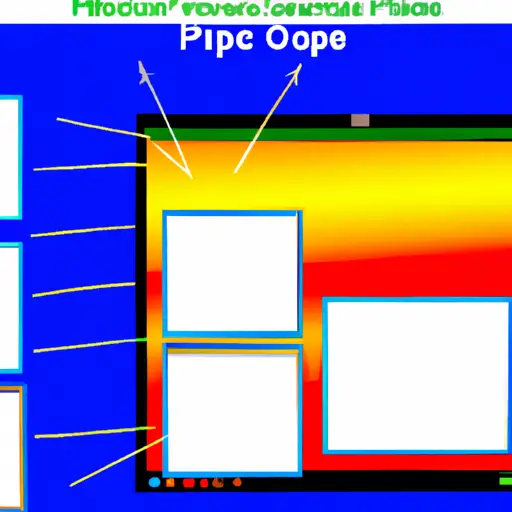
Step-by-Step Guide to Taking and Cropping Screenshots on Windows
Taking and cropping screenshots on Windows is a simple process that can be completed in just a few steps. This guide will walk you through the process of taking and cropping screenshots on Windows.
Step 1: Open the window or application you want to capture in your screenshot. Make sure it is displayed exactly as you want it to appear in the screenshot.
Step 2: Press the “Print Screen” (PrtScn) key on your keyboard. This will take a screenshot of your entire screen, including any open windows or applications, and save it to your clipboard.
Step 3: Open an image editing program such as Paint or Photoshop, then press “Ctrl + V” to paste the screenshot into the program.
Step 4: Use the selection tool to select only the portion of the image that you want to keep for your final screenshot. You can also use other tools such as crop, rotate, and resize if needed.
Step 5: Once you have selected all of the desired elements from your original image, click “Save As” from within Paint or Photoshop and choose where you would like to save your cropped image file (e.g., Desktop).
And there you have it! You have successfully taken and cropped a screenshot on Windows!
How to Use the Snipping Tool for Capturing and Editing Screenshots on Windows
The Snipping Tool is a useful utility for capturing and editing screenshots on Windows. It allows users to capture all or part of their screen, annotate the image with text and shapes, save it in various formats, and share it with others. This guide will explain how to use the Snipping Tool for capturing and editing screenshots on Windows.
To begin using the Snipping Tool, open the Start menu and type “Snipping Tool” into the search bar. Select “Snipping Tool” from the list of results to launch it. Once opened, you can select one of four snip types: Free-form Snip, Rectangular Snip, Window Snip or Full-screen Snip.
Free-form snips allow you to draw any shape around an area of your screen that you want to capture; rectangular snips let you draw a rectangle around an area; window snips let you select a specific window or application; and full-screen snips capture your entire screen at once. After selecting your desired type of snip, click “New” in the top left corner of the window to begin capturing your screenshot.
Once captured, you can edit your screenshot by adding text boxes or drawing shapes onto it using different colors and line thicknesses available in the toolbar at the top of the window. You can also crop out any unwanted parts from within your screenshot by clicking on “Crop” in this same toolbar menu before saving it as an image file (JPEG/PNG/GIF).
Finally, if desired you can share your edited screenshot directly from within this same window by clicking on “Share” in its toolbar menu which will open up options such as emailing or printing out copies for others to view as well as uploading them online via social media platforms like Facebook or Twitter etc..
In conclusion, The Snipping Tool is a great tool for quickly capturing screenshots on Windows computers without having to install additional software programs – making it easy for anyone who needs quick access to images they need without having too much technical knowledge about computers!
Q&A
Q1: How do I take a screenshot and crop it on Windows?
A1: To take a screenshot and crop it on Windows, press the “PrtScn” (Print Screen) key on your keyboard. This will capture the entire screen. Then open an image editing program such as Paint or Photoshop, paste the image into the program, and use the cropping tools to select only the portion of the image you want to keep.
Q2: How do I save my cropped screenshot?
A2: Once you have finished cropping your screenshot in an image editing program, simply save it as a new file in any format you prefer (e.g., JPEG or PNG).
